Contact our office team, who will give you all the details to be prepared.
This meeting includes a free attic inspection, roof inspection and quote. Your personal meeting will include discussing materials, guarantee and warranty information, scope of your project and exactly what your home needs. You choose your payment option. We accept checks, all major credit cards, cash and we offer financing. All needs will be discussed and problems will be solved for you and your unique home.
We are getting busy behind the scenes preparing for your project. We are ordering materials, the dumpster, and the permit. Once we have everything ready we will call and get your install date scheduled.
Between our Catch-All system and dynamic Equipter machine, we will catch most of the nails and debris, keeping your grass green, flowers blooming, and leaving your Japanese Maples upright!
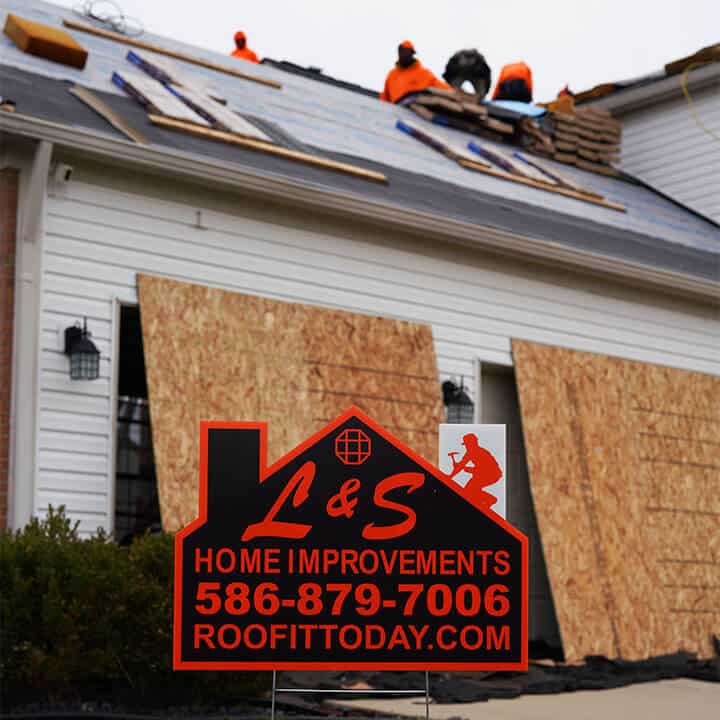
Let our roofer bees get to work. Just like a thriving colony, each professional has a specific task and communicates to the other members for an efficient installation. If you are home, you are welcome to come out and ask questions. If you are not home, we will call and keep you updated on how your install is going.
Most debris will be caught by our equipment, but rest assured that once all equipment is removed, we will run magnets along your property as well. How many times? As many as it takes! Our foreman will also complete a thorough inspection of the roof.
A few days post install our office team will call and set up a short follow up appointment. This usually lasts about 15 to 20 minutes, in which your professional roof specialist will return, complete another thorough inspection of install and clean up, go over all of your paperwork, and make sure you're happy. Only then will the final payment be collected!
In our free exterior inspection and design consultation, you communicate your goals, vision, and budget and the journey begins. We go over the size and details of this transformation, including design, materials, and timelines to bring that vision to life. Our team curates curb appeal!
Once you’ve committed, the clock starts ticking on our end, as managers ensure material counts, designers review ideas, and our office staff communicates tentative install dates.
It gets worse before it gets better! The day of install, we set up ladders and protect your property by moving objects and covering delicate areas. We carefully remove old materials and assess what rotted wood or unique coverups hid below it. We document, discuss, and repair accordingly. This will be an active worksite for the duration of the project and it will look the part.
Insulation (where needed or where it accommodates), house wrap, a level metal starter strip, and aluminum trim process create those distinctive siding lines. Light boxes, specialty trim, decorative elements, and other details round it out. Once this is done, we begin installing the siding.
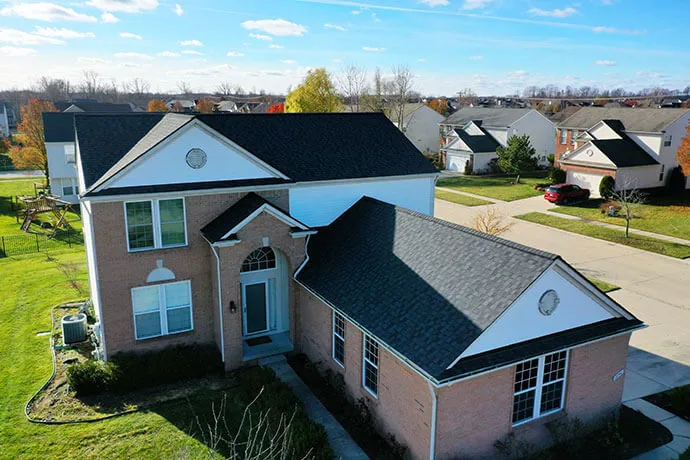
Whether it was 4”, 5”, standard, decorative, or shake, the vision you created reaches its final stretch. We caulk it up, clean it up, review the details before finally tidying the yard. Now, each time you pull up, a sense of pride overtakes you. What a journey!
